
Why Missing Jointing Sand Is Silently Ruining Your Block Paving
The joint is the structure
Block paving is not held together by adhesive. There is no mortar, and nothing is fixed down. A block-paved driveway is a flexible surface: hundreds of individual units resting on a bed of sharp sand over a compacted sub-base, and the whole thing works because of a principle called interlock.
Interlock is what stops each block moving independently. It comes from three things: the pattern the blocks are laid in, the restraint at the edges, and the sand packed into the two-to-five millimetre gaps between every block. That sand transfers the load of a car tyre sideways into the neighbouring blocks instead of letting one block take the whole weight and sink.
Once the sand is gone, the joint is just an air gap, and each block is on its own.
What you notice first, and what is actually happening
Most people notice the weeds long before they notice anything structural, which is understandable but slightly the wrong way round.
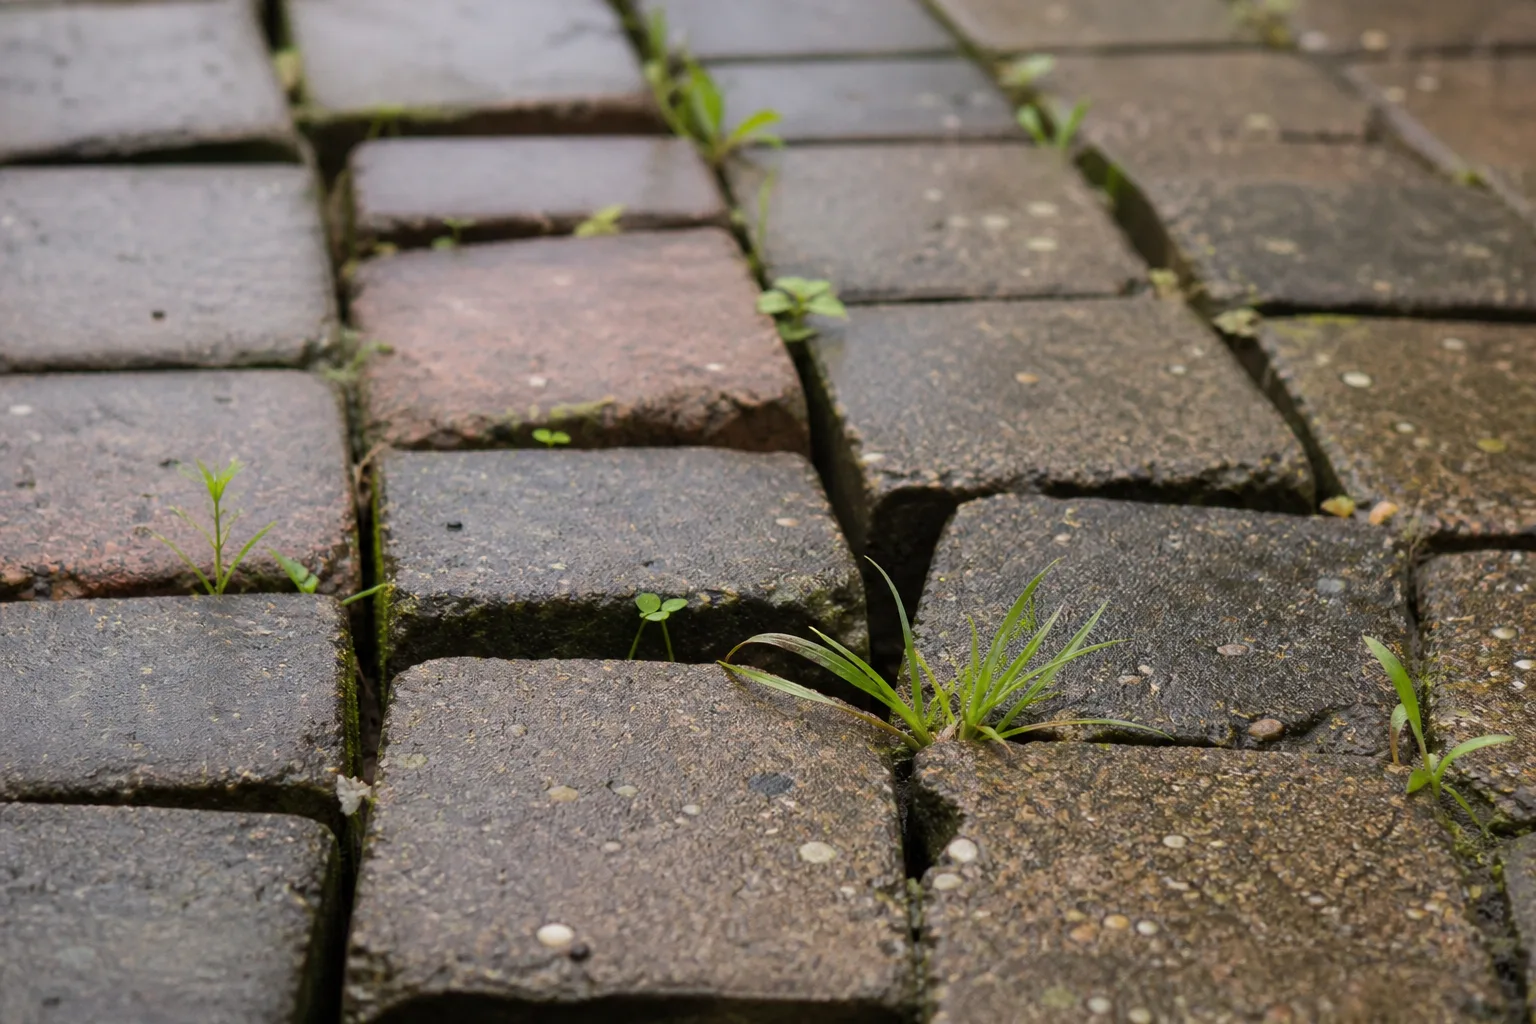
An empty joint is a near-perfect growing environment: a narrow, sheltered channel that collects windblown soil, organic debris and seed, retains moisture after rain and sits in full light. Weeds appearing along the joint lines are not a sign that you need weedkiller. They are a sign that the joints are empty and have started collecting soil.
The structural problem develops more slowly and costs considerably more to put right:
- Rocking and tilting. Blocks with no lateral support tip slightly under wheel loads. You feel it through the steering as a soft or uneven patch.
- Widening joints. As blocks shift, gaps open unevenly. Wide gaps collect more debris and lose more of the remaining sand.
- Sinking and rutting. Two parallel depressions where the car sits are the classic sign. At this point the bedding sand beneath has started migrating too.
- Edge failure. Blocks at the perimeter, which rely most on interlock, work loose and lift out entirely.
Re-sanding a driveway is inexpensive. Relaying a section that has rutted, because the bedding layer has been disturbed, is not.
Why the sand disappears
Nothing dramatic is required. Jointing sand is lost through:
- Rain and surface water, washing fines out of the joints and down the fall of the driveway, year after year.
- Wind, on exposed frontages, once the top of the joint has dried out.
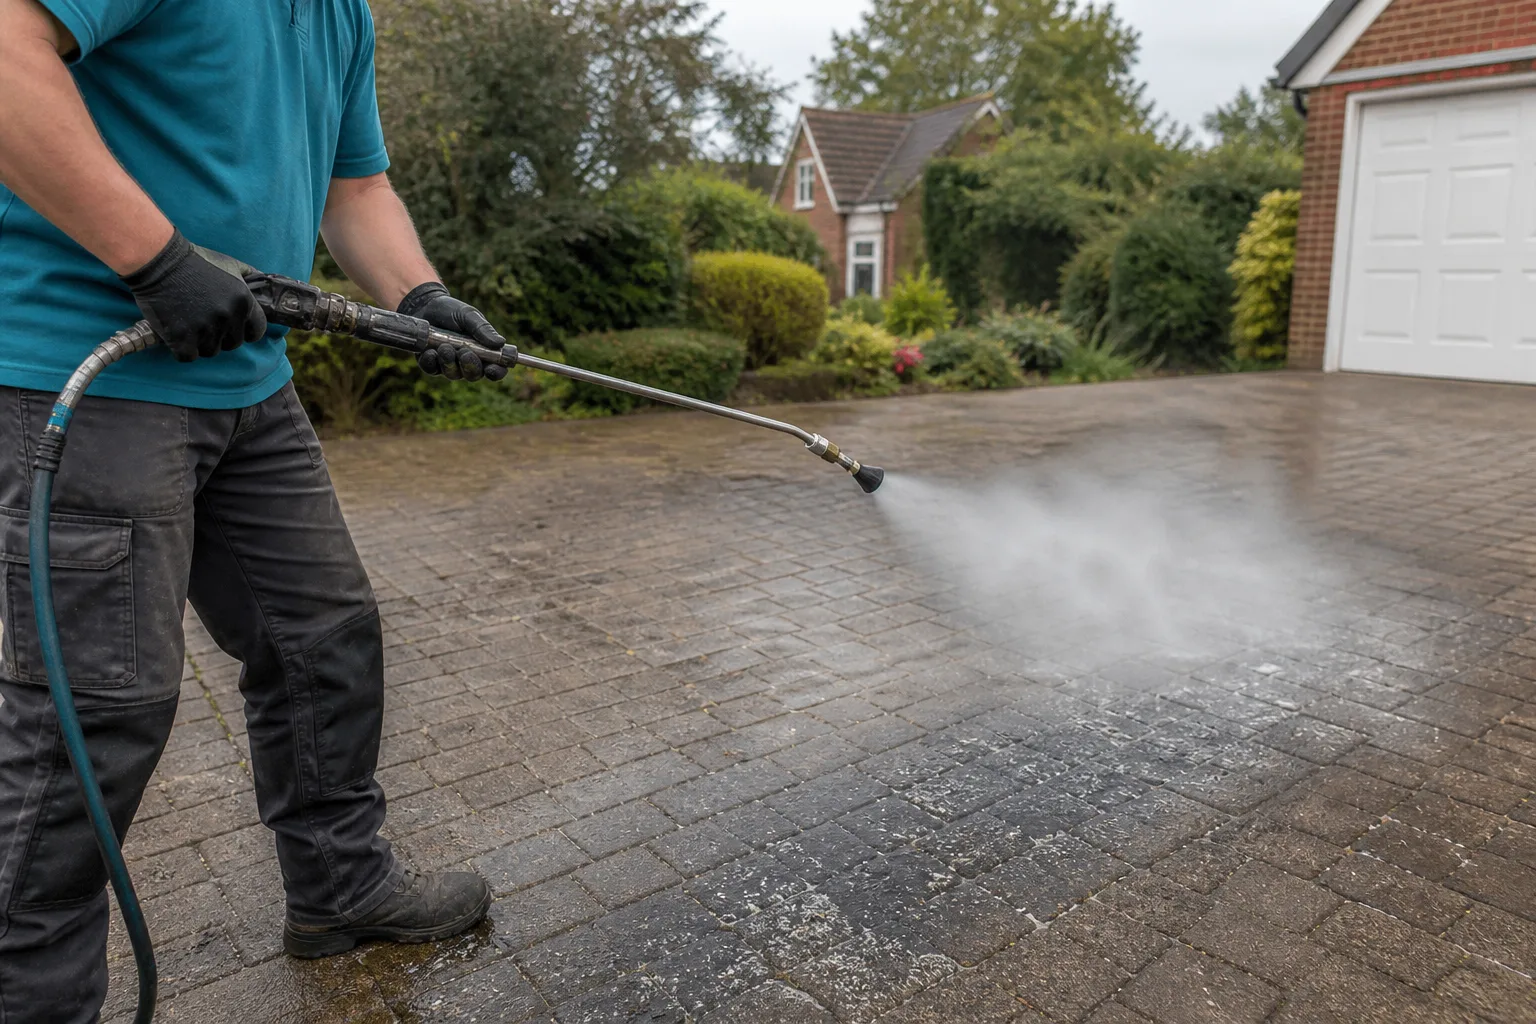
- Pressure washing. This is the big one, and it is worth being blunt about it. A rotary surface cleaner at any useful pressure will strip the jointing sand out of a driveway. It is unavoidable, and it is the single most important reason to be careful about who cleans your driveway.
That last point is where a lot of homeowners get caught out. A cheap clean that leaves the joints empty has not saved you money; it has quietly removed the structural component of your driveway and left the weeds a clean bed to grow in. Any competent pressure wash of block paving must be followed by re-sanding, and it should be included in the price rather than offered as an extra afterwards.
Kiln-dried sand, and why it has to be dry
The material for the job is kiln-dried jointing sand: a fine, graded silica sand that has been dried to a very low moisture content.
The dryness is not a technicality. Damp sand clumps and bridges across the top of a joint, leaving a void underneath that looks filled but carries no load. Genuinely dry sand behaves almost like a liquid, running down the full depth of the joint so that the whole thickness of the block is supported.
This is also why we re-sand only once the surface has properly dried after cleaning. Brushing sand into wet joints achieves very little beyond a tidy appearance for a week.
The process itself is unglamorous and hard to shortcut. Sand is spread across the surface and worked in with a stiff broom in several directions until the joints stop taking any more, and on larger driveways a plate compactor is used to settle the blocks and consolidate the joints, followed by a final top-up. It is the last hour of the job and it is the hour that determines how the driveway performs for the next few years.
Stabilising sand and sealing
There are two further options worth knowing about.
Polymeric or stabilising sand contains a binder that sets when wetted, forming a semi-firm joint that resists washout and weed germination more strongly than loose sand. It works well but it is less forgiving: it must be applied to a completely dry surface and cleaned off the block faces thoroughly before activation, or it leaves a haze.
Sealing applies a breathable protective layer over the paving and the joints once re-sanded. It locks the jointing sand in place, resists oil penetration, and slows UV fading of the block colour. On a driveway that has just been fully restored it is the most effective way of protecting the work, and it is the reason we offer it as an optional extra rather than assuming everyone wants it.
If you can run a screwdriver down between your blocks and it disappears past the halfway point, your joints are empty. Send us a photo of the driveway and we will tell you whether it needs a clean and re-sand or whether some of the blocks have already moved far enough to need lifting and relaying.
Related guides
More practical advice on keeping your driveway, patio and paths looking their best.
Send us a photo. We'll tell you what it costs.
One fixed price back, with everything your surface needs already in it. Nothing added later. If you don't like the finish, we don't leave.